Are you frustrated by a malfunctioning shower? Exhausted from dealing with a shower that just won't work properly? If you find yourself nodding along to either of these questions, you're in the right place. We've gathered all the essential information and tips you need to effectively clean your shower head, ensuring a seamless and enjoyable shower experience. From simple cleaning techniques to more comprehensive maintenance advice, we'll guide you through the steps to rejuvenate your shower and restore its performance to its former glory.
SIGNIFICANCE THAT YOUR SHOWER HEAD REQUIRES A DEEP CLEAN
Before diving into the comprehensive guide for cleaning your shower head, let’s first determine whether it’s time for a deep clean. The following checklist will assist you in identifying signs that indicate the necessity to descale your shower head.
- Have you noticed inconsistencies in the water pressure during your showers?
- Does your shower head unpredictably spray water in various directions?
- Are there several (more than three) nozzles on your shower head that seem clogged or not emitting water at all?
- Can you observe any buildup of limescale or other visible residues? (It's important to note that this may not always be apparent.)
If you find yourself affirming any of these queries, it's a clear indication that your shower head could benefit from a thorough descaling process.
In the sections that follow, we will explore the underlying causes behind the blockage of your shower head and offer strategies to not only address the current issue but also to prevent future occurrences. This guide aims to provide you with all the necessary information to maintain the efficiency and longevity of your shower head, ensuring a consistently pleasant showering experience.
WHY IS MY SHOWER HEAD LOCKED?
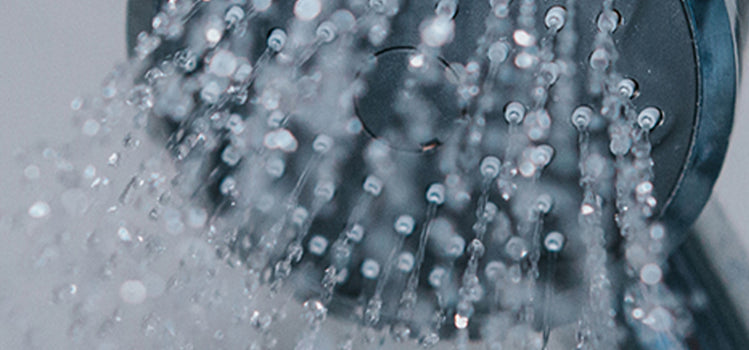
Maintaining a pristine bathroom might leave you puzzled when you encounter a blocked showerhead, especially when the rest of the space shines. The reality is, shower heads are tasked with dispensing vast quantities of water daily, and over time, this constant flow leads to the accumulation of mineral deposits. These deposits, initially just water droplets, gradually crystallize into hard obstructions.
As a result, debris and dirt begin to clog the shower nozzles, significantly reducing your shower's efficiency. The once free-flowing water now struggles to make its way through the constricted paths formed by buildup, leading to a shower that operates below its full potential.
One of the most common culprits behind this issue is limescale, recognizable by its white, chalky appearance. Limescale deposits not only detract from the aesthetic appeal of your shower head, making it appear unsightly and neglected, but they also impact the overall performance, resulting in a decrease in water quality and a lackluster shower experience.
Moreover, limescale isn't always visible to the naked eye. There are instances where it stealthily accumulates inside the shower nozzles, out of sight yet obstructing the water flow. This hidden buildup is a primary reason why your shower might not be performing up to par, despite outward appearances suggesting everything is in order. By understanding and addressing the issue of mineral deposits, you can ensure your shower continues to function at its best, providing you with an optimal showering experience.
What Now?
Before you consider the option of purchasing a new shower head, hold off and explore our detailed guide first. Packed with straightforward and manageable steps, this guide is designed to transform your shower experience. By following our instructions, you’ll not only rejuvenate your existing shower head but also restore the water flow to its optimal performance. Get ready to fall in love with your shower all over again, as you witness the transformation and enjoy a revitalized showering experience.
HOW TO CLEAN A WALL-MOUNTED SHOWER HEAD/CEILING?
Cleaning wall-mounted or ceiling shower heads presents a unique challenge compared to their handheld counterparts. Since these fixtures are fixed to the wall or ceiling, removing them for a thorough cleaning typically requires the expertise of a plumber. However, there's no need to worry; even overhead showers can be effectively rescued from the dreaded limescale buildup. With the right approach and some handy tips, you can ensure your fixed shower head remains in pristine condition, enhancing your shower experience without the need for professional intervention. Let's explore how to maintain and clean these types of shower heads to keep them functioning beautifully and efficiently.
Step 1
In instances where your shower head lacks a quick-release feature, removal might be necessary for a thorough cleaning. However, if you're hesitant about taking the shower head off, or if the design does not permit easy removal, there's no need to worry. You can still achieve a comprehensive clean by following a series of effective steps designed to work around this limitation. This approach ensures that your shower head can be cleaned and descaled without the need to dismantle it, providing a practical solution for maintaining optimal water flow and cleanliness.
Step 2
Once you've decided to remove the shower head, or if you're aiming to clean it while still attached, the next step involves gathering your cleaning supplies. All you need is white distilled vinegar and a durable plastic bag. That's correct—these simple items are the key tools in your cleaning arsenal. White vinegar is a powerful, natural cleaning agent that effectively breaks down limescale and mineral deposits, while the plastic bag serves as a practical vessel for soaking the shower head in the vinegar solution. This method is straightforward yet highly effective in restoring your shower head to a pristine state.
Step 3
Proceed to fill the plastic bag with white vinegar, ensuring you use enough of this natural descaling solution to completely submerge the shower head. It’s important to stick with white vinegar due to its acidic properties, which are highly effective at dissolving the mineral deposits and limescale that can clog up your shower head over time. The goal is to create a vinegar bath that will envelop the shower head, allowing the acetic acid in the vinegar to work its magic and thoroughly cleanse the fixture without the need for harsh chemicals.
Step 4
Immerse the shower head completely in the vinegar by placing it inside the vinegar-filled bag. To ensure the bag stays in place, especially for those shower heads that cannot be removed and are being cleaned in situ, secure it tightly around the shower arm with a piece of string or a rubber band. This step is crucial for maintaining the vinegar soak around the shower head, allowing the cleaning solution to effectively break down and dissolve any buildup of limescale and mineral deposits. The secure fastening ensures that every nozzle and crevice is exposed to the vinegar, promising a deep and thorough clean without the shower head slipping out of the treatment.
Step 5
Your quest to eradicate limescale is nearing its end. To guarantee the thorough removal of all limescale deposits, allow the shower head to soak in the vinegar solution for a minimum duration of 1 to 2 hours. This soaking period is essential as it gives the vinegar ample time to penetrate and dissolve the stubborn mineral build-up that can affect water flow and shower head performance. For particularly severe cases of limescale accumulation, consider extending the soaking time even longer, ensuring that the vinegar has the opportunity to work its full cleansing power. This step is pivotal in restoring your shower head to its optimal condition, ensuring a clean, efficient flow for your showering pleasure.
Step 6
Once the soaking period is complete, proceed to carefully remove the bag from the shower head by untying the string or rubber band that was securing it in place. With the bag removed, you may notice some residual deposits or debris clinging to the nozzles or surface of the shower head. At this point, employ a soft-bristled toothbrush to gently scrub away any remaining traces of limescale or mineral buildup. The toothbrush's bristles are perfect for reaching into the nooks and crannies of the shower head, ensuring that every last particle of debris is effectively dislodged and removed, leaving your shower head looking and functioning like new.
Step 7
Following the reinstallation of the shower head, it's time to reactivate the water supply. Switch it on and let hot water flow through the shower head for approximately 30 seconds. This final flush is crucial as it ensures the complete removal of any loosened debris, limescale, or vinegar residue from within the ducts. The stream of hot water acts as a natural cleanser, thoroughly purging the internal pathways of the shower head, thereby restoring clear and unobstructed water flow. This step not only confirms the effectiveness of your cleaning efforts but also marks the rejuvenation of your shower head, preparing it for its next use with renewed efficiency.
Step 8
For the final touch, apply a CIF cleaner or a similar quality cleaning product to the shower head. This step is designed to not only provide the shower head with a gleaming finish but also to ensure any remaining cleaning residue is thoroughly removed. The CIF cleaner's formulation is crafted to add a brilliant shine to your bathroom fixtures, leaving your shower head sparkling clean. Gently apply the cleaner, following the manufacturer's instructions, and then wipe it down for a pristine appearance. This finishing step not only enhances the aesthetic appeal of your shower head but also contributes to the overall cleanliness and hygiene of your shower space.
HOW TO CLEAN A HANDHELD/ ELBOW SHOWER HEAD
Due to their adaptable design, handheld or elbow shower heads offer a much simpler cleaning process. Their detachable nature allows for more straightforward maintenance and accessibility when it comes to cleaning, making it easier to address any build-up directly. This flexibility ensures that every nook and cranny can be thoroughly cleaned, enhancing the overall functionality and longevity of the shower head.
Remove Handheld Head
When it comes to removing a handheld shower head, there are two primary approaches. Let's dive straight into the details:
For many contemporary shower setups, detaching the shower head from its hose is a straightforward task, often requiring nothing more than a basic screwdriver. However, if you find the shower head stubbornly attached to the shower set, or if the straightforward method doesn't work for you, the following steps will guide you through the process of removing both the head and the hose effectively.
Start with the removal of the handheld shower unit itself. Trace the hose down to its connection point with the wall. This is where you'll employ an adjustable wrench. Position the wrench at the junction where the hose meets the wall, and gently turn it counterclockwise.
As you loosen the connection, you'll soon reach a point where you can comfortably continue the removal process by hand. After detaching the hose, make sure to tilt it downwards to let any trapped water drain out, ensuring that no residual water is left inside.
Buy a bag and white vinegar
Once you've detached the limescale-ridden shower head, prepare a cleaning solution using white vinegar. Pour the vinegar into a durable plastic bag, enough to fully submerge the shower head. Securely fasten the bag around the shower head with a rubber band, ensuring a tight seal. Allow the setup to soak for approximately 1 to 2 hours, giving the vinegar sufficient time to break down and dissolve the mineral blockages.
The longer the shower head remains immersed in the vinegar, the more effective the cleaning process will be at removing obstructions.
Pro Tip: To minimize mess and avoid vinegar spills, place the plastic bag and shower head assembly in your kitchen sink during the soaking period.
Let the Vinegar Perform Its Cleansing Ritual
After the allotted soaking time of 1-2 hours, the vinegar will have penetrated and loosened much of the limescale buildup.
Next, you’ll need to gently scrub the shower head, especially focusing on the nozzles. Utilize an old toothbrush for this task—a tool perfect for this job due to its soft bristles and the ability to reach tight spaces. The vinegar soak should have significantly lifted the buildup, allowing you to easily brush away any lingering deposits and restore the shower head's cleanliness and flow efficiency.
Next, do a Quick Polish
For the concluding step, take a moist cloth and gently wipe down your handheld shower head, adding a finishing gleam before you reconnect it to the shower setup. Once reassembled, activate the shower and allow hot water to cascade through for about 30 to 60 seconds. This flushes out any residual debris, ensuring that your shower head not only looks spotless but functions smoothly, providing an unobstructed, refreshing stream of water.
ARE YOU STILL TRYING to DESCALE THE SHOWER HEAD?
If following our detailed guide hasn't fully tackled the limescale issue on your shower head, it might be time to consider a stronger approach. While white vinegar typically achieves great results against limescale, sometimes the buildup has been accumulating for so long that it becomes particularly stubborn to remove.
It's possible that despite your best efforts, the mineral deposits persist, leaving you searching for alternative solutions to restore your shower head's performance.
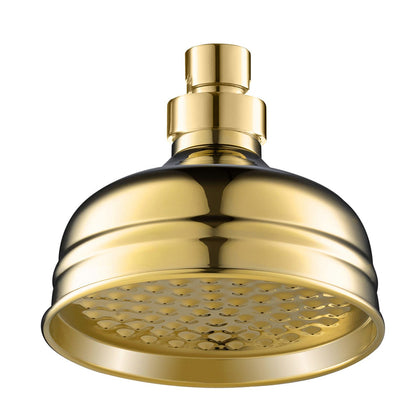
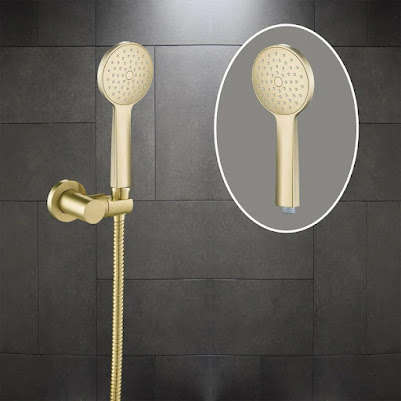
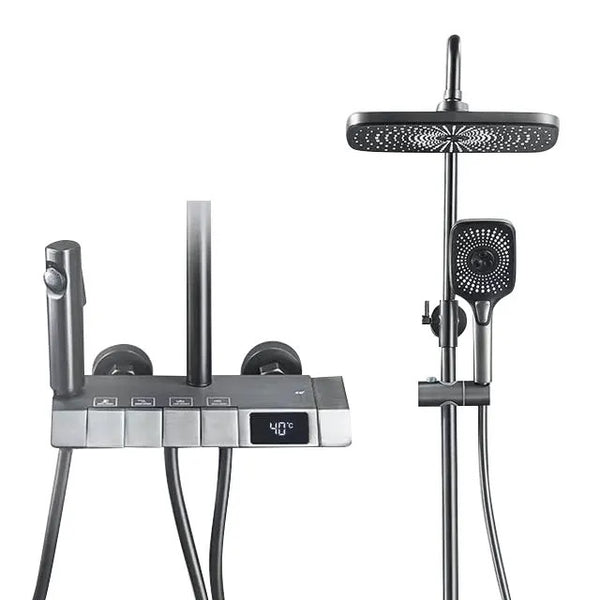
For those who find themselves at this juncture, we've curated a selection of our most popular handheld showers and shower heads. These models feature silicone nozzles, which are especially designed for easy limescale removal, providing a practical and efficient solution to this common problem.
We have listed our top-selling handheld showers and shower heads below. They all have silicone nozzles which make it easier to remove limescale.
Successfully cleaning your shower head can significantly improve water flow and shower quality. However, if you notice your shower is still leaking even after a thorough cleaning, there might be underlying issues that need attention. I recently came across a helpful article, Unveiling the Mystery: Why Is My Shower Leaking?, which offers in-depth insights and troubleshooting tips for this very problem. It could be just what you need to fully resolve your shower's issues."


No comments:
Post a Comment